We get many inquiries from our users on how to resize their custom receipts after they have created them with our tool. Our receipts are generated at high resolution and larger than actual size in order to allow you to print and scale accordingly. Let’s look at two ways to resize these receipt images.
Scaling the Receipt using Microsoft Word (or Google Docs)
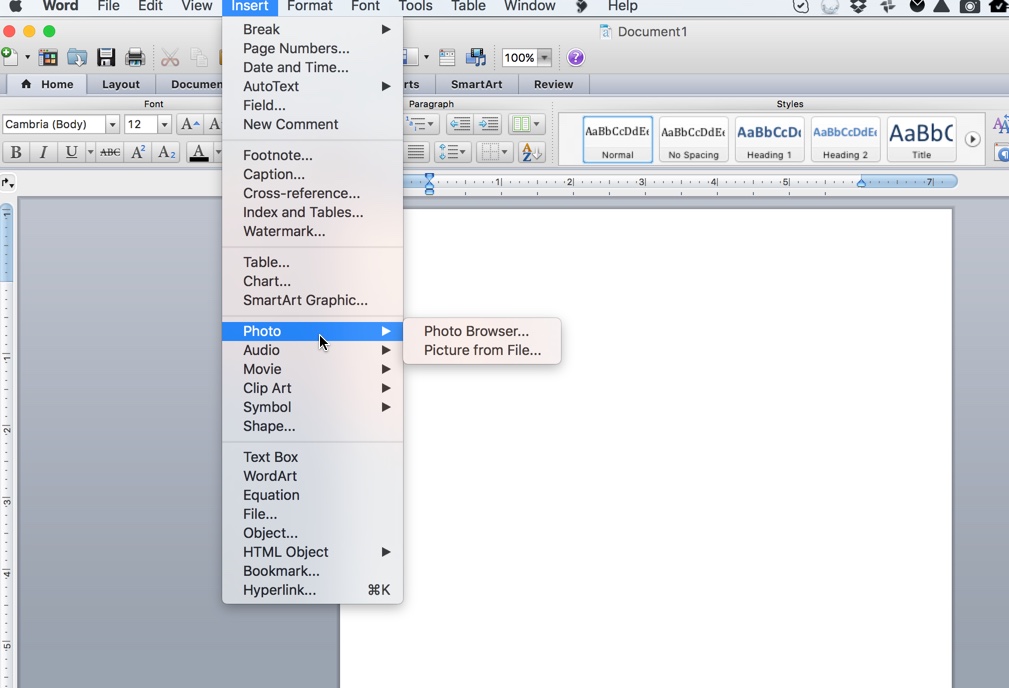
First, open a blank Word document. Next click “Insert” and choose Photo and the “Picture from File.” Then pick the receipt .JPG image you received.
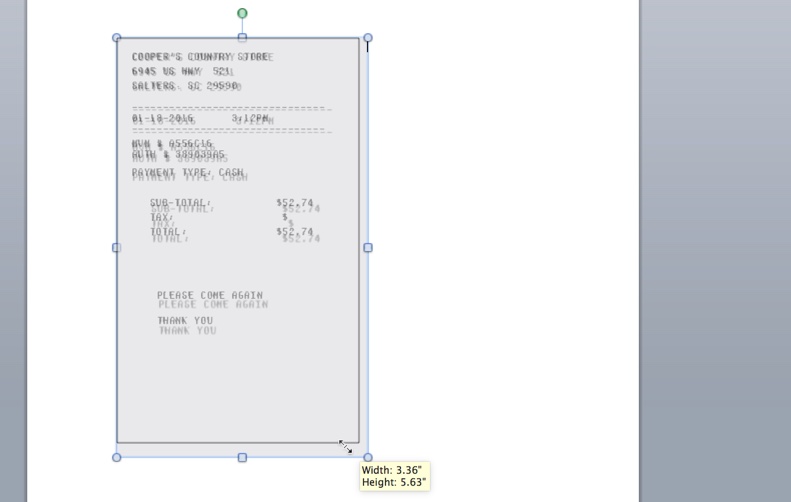
Next click the image of the receipt on screen and then grab one of the corners to scale the image accordingly. Your custom receipt can be sized this way as large or as small as you would like.
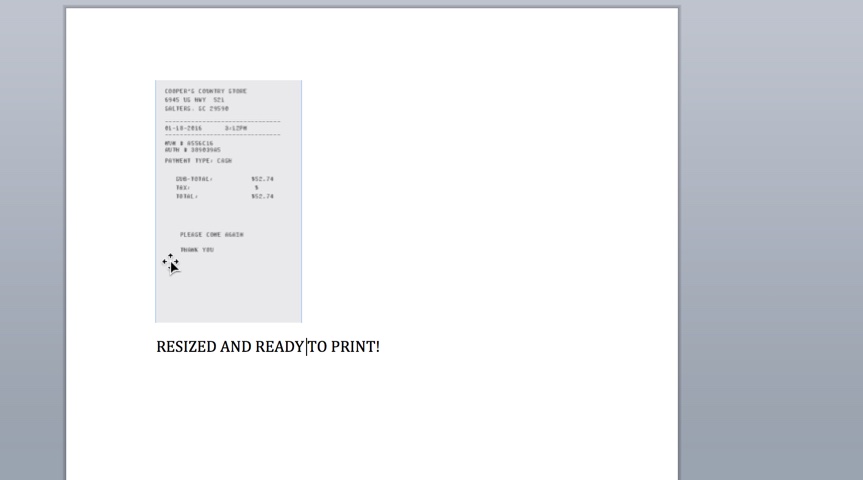
Once you’ve resized the custom receipt, you are ready to print your receipt. Here, we’ve scaled the image approximately 30% smaller than the original.
Scaling the Image using Printing Options
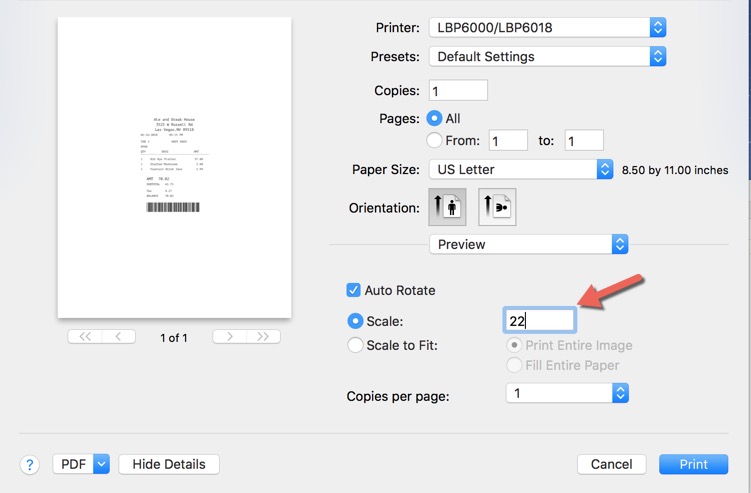
The 2nd option for scaling an image is to simply use the “Scale” feature within the printing dialog. Printers and printer drivers vary – but most printers offer the ability to scale the image upon printing. In this case, we are printing the image from the “Image Viewer” or “Preview” application on your computer.
Simply select “Scale” from the print dialog window and adjust the size to adjust the size of the image on the page.
A few additional tips for making your receipt look good on paper:
- It sometimes requires resizing and printing the image to determine if it is a good size for your receipt purposes.
- Remember, a larger receipt is going to be easier to read if you need to scan or fax your receipt output for use in your expense report or tax reimbursement.
- Many companies now are sending digital receipts to customers via email. These receipts are meant to be larger because they are digital receipts that were not intended for printing.

